泡泡IM安装指南
安装
- 授权得到所有泡泡IM源码后,参考以下步骤进行安装。
代码组成
- 聊天插件分为两个部分,pop-web和pop-socket。
- pop-web用来向客户端提供html、css、js文件以及api接口。
- pop-socket用来提供websocket服务,实现实时通讯。
pop-socket 安装
-
参考 workerman手册 安装部分安装workerman所需环境
-
运行
pop-socket,命令行cd到pop-socket目录,运行php start.php start -d -
修改防火墙策略,让6060端口可以被外部访问。如果是用的云服务器,则安全组也需要设置下。
pop-web安装
注意:网站根目录指向pop-web/public目录,网站根目录指向pop-web/public目录,网站根目录指向pop-web/public目录。
1 pop-web 可以用nginx+php-fpm或者apache来运行(二者选其一即可),配置参考如下 nginx配置
server {
    listen 80;
    server_name  popoim.com;
    root 实际磁盘路径/pop-source/pop-web/public;
    client_max_body_size 20M;

    location /im/h5 {
        try_files $uri $uri/ /h5.html?$args;
    }

    location /im/web {
        try_files $uri $uri/ /web.html?$args;
    }

    location /app
    {
        proxy_pass http://127.0.0.1:6060;
        proxy_http_version 1.1;
        proxy_set_header Upgrade $http_upgrade;
        proxy_set_header Connection "Upgrade";
        proxy_set_header X-Real-IP $remote_addr;
    }

    location / {
        if (!-e $request_filename) {
            rewrite ^/index.php(.*)$ /index.php?s=$1 last;
            rewrite ^(.*)$ /index.php?s=$1 last;
            break;
        }
    }

    location ~* \.(eot|ttf|woff)$ {
        add_header Access-Control-Allow-Origin *;
    }

    # 为了保证安全,这里的php文件不允许执行
    location ~ \/static\/.*\.php {
        deny all;
        return 404;
    }

    # 为了保证安全,这里的php文件不允许执行
    location ~ \/upload\/.*\.php {
        deny all;
        return 404;
    }

    location ~ \.php$ {
       fastcgi_pass    127.0.0.1:9000;
       include fastcgi_params;
       fastcgi_param SCRIPT_FILENAME $document_root$fastcgi_script_name;
    }
}
apache配置
参考如下(需要httpd.conf配置文件中加载了mod_rewrite.so模块)
<Directory "实际磁盘路径/pop-source/pop-web/public">
     Header set Access-Control-Allow-Origin "*"
     Options Indexes MultiViews
     AllowOverride All
     Require all granted
 </Directory>
 <VirtualHost *:80>
     DocumentRoot "实际磁盘路径/pop-source/pop-web/public"
     ServerName popoim.com
 </VirtualHost>
2 访问 http://你的域名.com/install.php ,根据步骤检测环境并填写数据库配置即可完成安装。
3 打开php.ini文件并修改以下选项,用来增大服务器上传文件大小限制
upload_max_filesize = 20M
post_max_size = 20M
重启Apache或者php-fpm
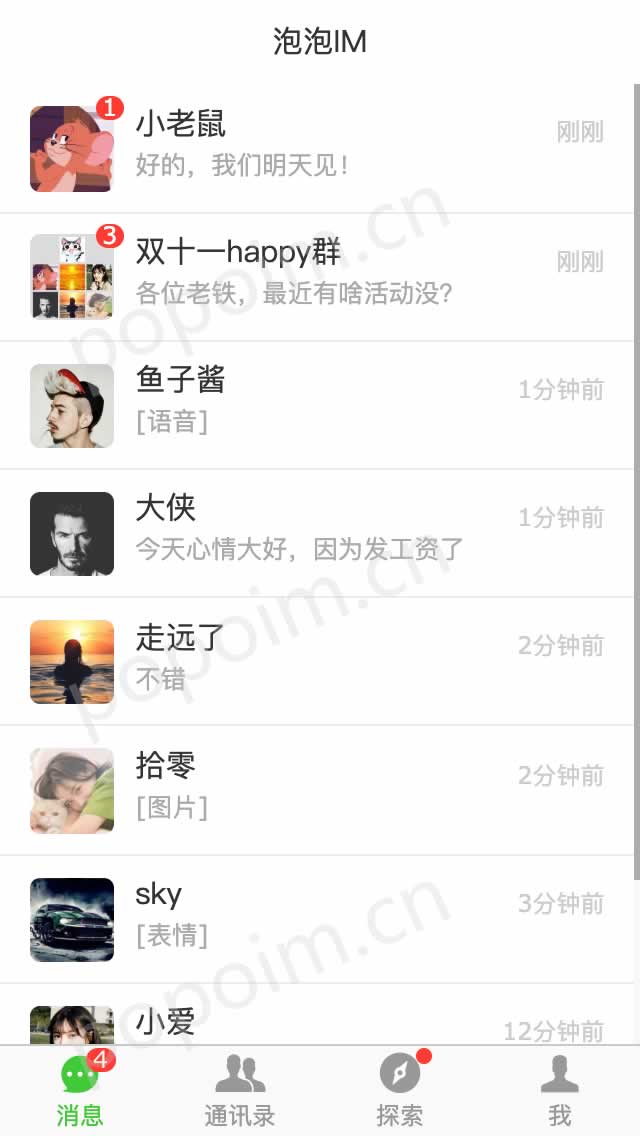
泡泡IM界面效果图